以下基于 Harbor v2.5.0

最终看起来像这样 nginx (host,ssl) -> harbor-nginx (non-ssl) -> harbor

说明

首先服务上安装有 nginx,且配置了 SSL,现在可能在本机或者内网的其他机器上安装有 Harbor,需要反向代理到本机映射出去。

harbor.yml

首先需要注释掉 https 相关的配置,并添加 external_url 的配置项。

1
2
3
4
5
6
7
8
9
10
11
12
13
14
15
16
17
18
19
20
21
22
23
24
25
26
27
28
29
# Configuration file of Harbor

# The IP address or hostname to access admin UI and registry service.
# DO NOT use localhost or 127.0.0.1, because Harbor needs to be accessed by external clients.
hostname: hub.example.cn

# http related config
http:
# port for http, default is 80. If https enabled, this port will redirect to https port
port: 5080

# https related config
# https:
# https port for harbor, default is 443
# port: 443
# The path of cert and key files for nginx
# certificate: /your/certificate/path
# private_key: /your/private/key/path

# # Uncomment following will enable tls communication between all harbor components
# internal_tls:
# # set enabled to true means internal tls is enabled
# enabled: true
# # put your cert and key files on dir
# dir: /etc/harbor/tls/internal

# Uncomment external_url if you want to enable external proxy
# And when it enabled the hostname will no longer used
external_url: https://hub.example.cn

harbor.conf

nginxvhost 中新增相关配置,必须要配置 X-Forwarded-Proto $schemeclient_max_body_size 按需配置。

1
2
3
4
5
6
7
8
9
10
11
12
13
14
15
16
17
18
19
20
21
22
23
24
25
26
server {
listen 80;
server_name hub.example.cn;
location / {
return 301 https://$host$request_uri;
}
}

server {
listen 443 ssl http2;
server_name hub.example.cn;

ssl_certificate /usr/local/openresty/nginx/conf/ssl/hub.example.cn.crt;
ssl_certificate_key /usr/local/openresty/nginx/conf/ssl/hub.example.cn.key;

client_max_body_size 500m;

location / {
proxy_pass http://10.0.4.10:5080;
proxy_set_header Host $host;
proxy_set_header X-Real-IP $remote_addr;
proxy_set_header X-Real-PORT $remote_port;
proxy_set_header X-Forwarded-For $proxy_add_x_forwarded_for;
proxy_set_header X-Forwarded-Proto $scheme;
}
}

常见问题

docker login 出现 unauthorized: authentication required

harbor 内没有配置 external_url

访问 hub.example.cn 会重定向到某个端口

harbor 内需要取消 https 的配置。

docker push 出现 400 The plain HTTP request was sent to HTTPS port

反向代理 nginx 中没有配置 X-Forwarded-Proto $scheme

适用于 Android 12,理论上适配低版本。

测试环境 MIUI13 Android 12

准备工作

  • BlackBox

  • TrustMeAlready

  • VNET

  • 百度云 cn7g

使用

依次安装以上三个软件。

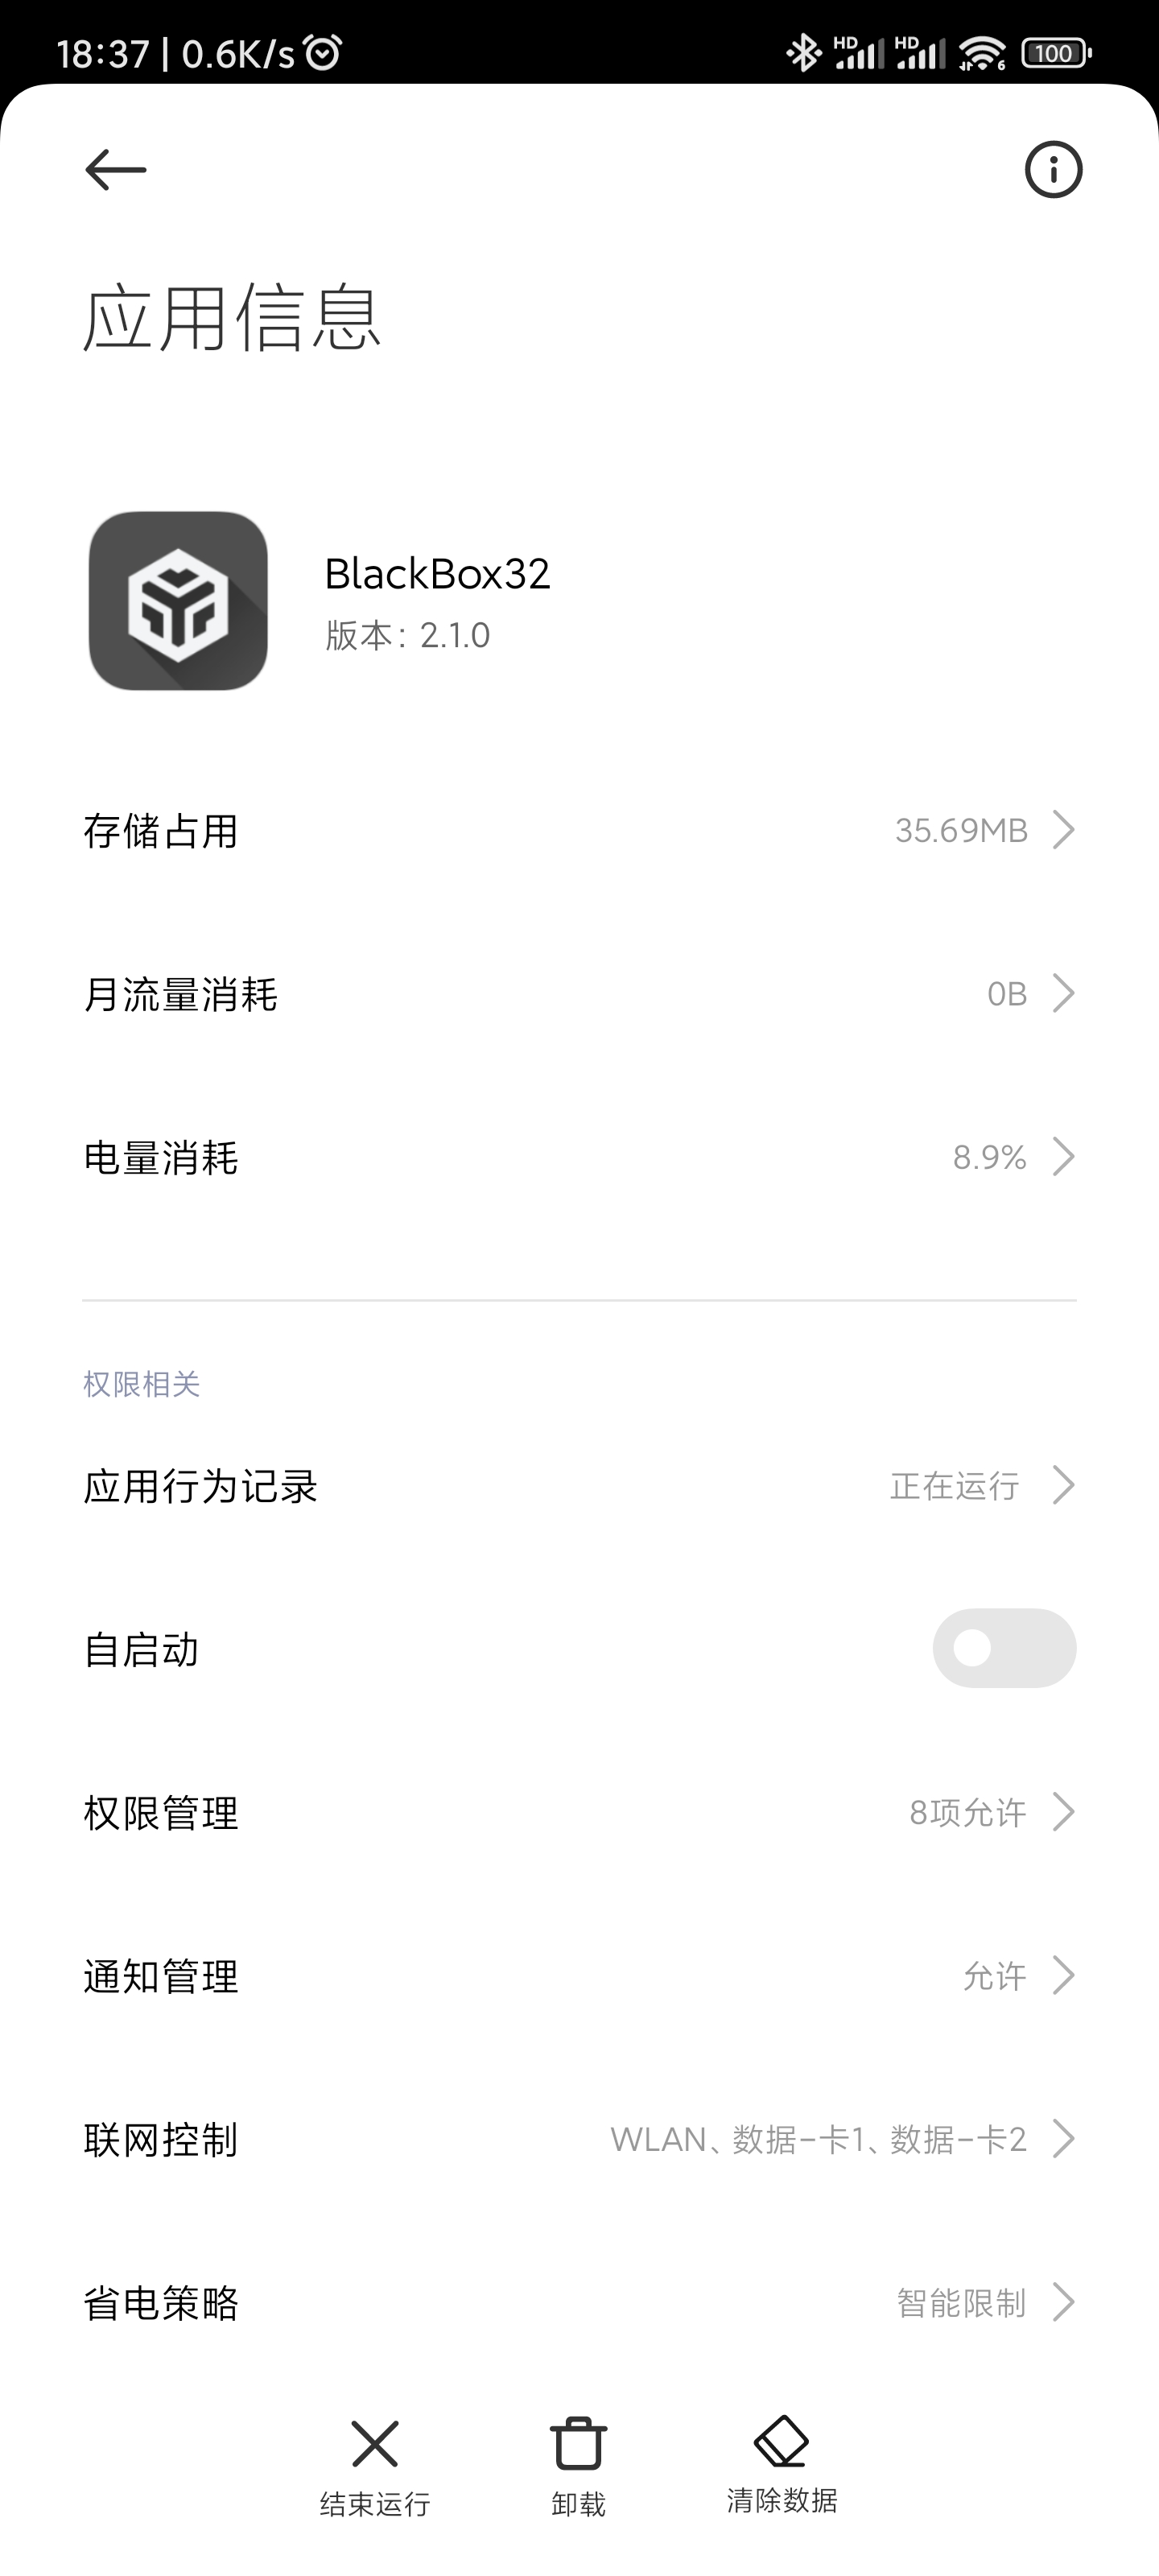
打开 BlackBox,先点击右下角的加号,将需要抓包的软件和 TrustMeAlready 加入到虚拟机中,再点击右上角打开 软件设置

BlackBox

开启 启用Xposed框架

软件设置

终止 BlackBox

BlackBox设置

再次打开 BlackBox软件设置,打开 模块管理,点击右下角的加号,选择 TrustMeAlready,并勾选。

XP管理

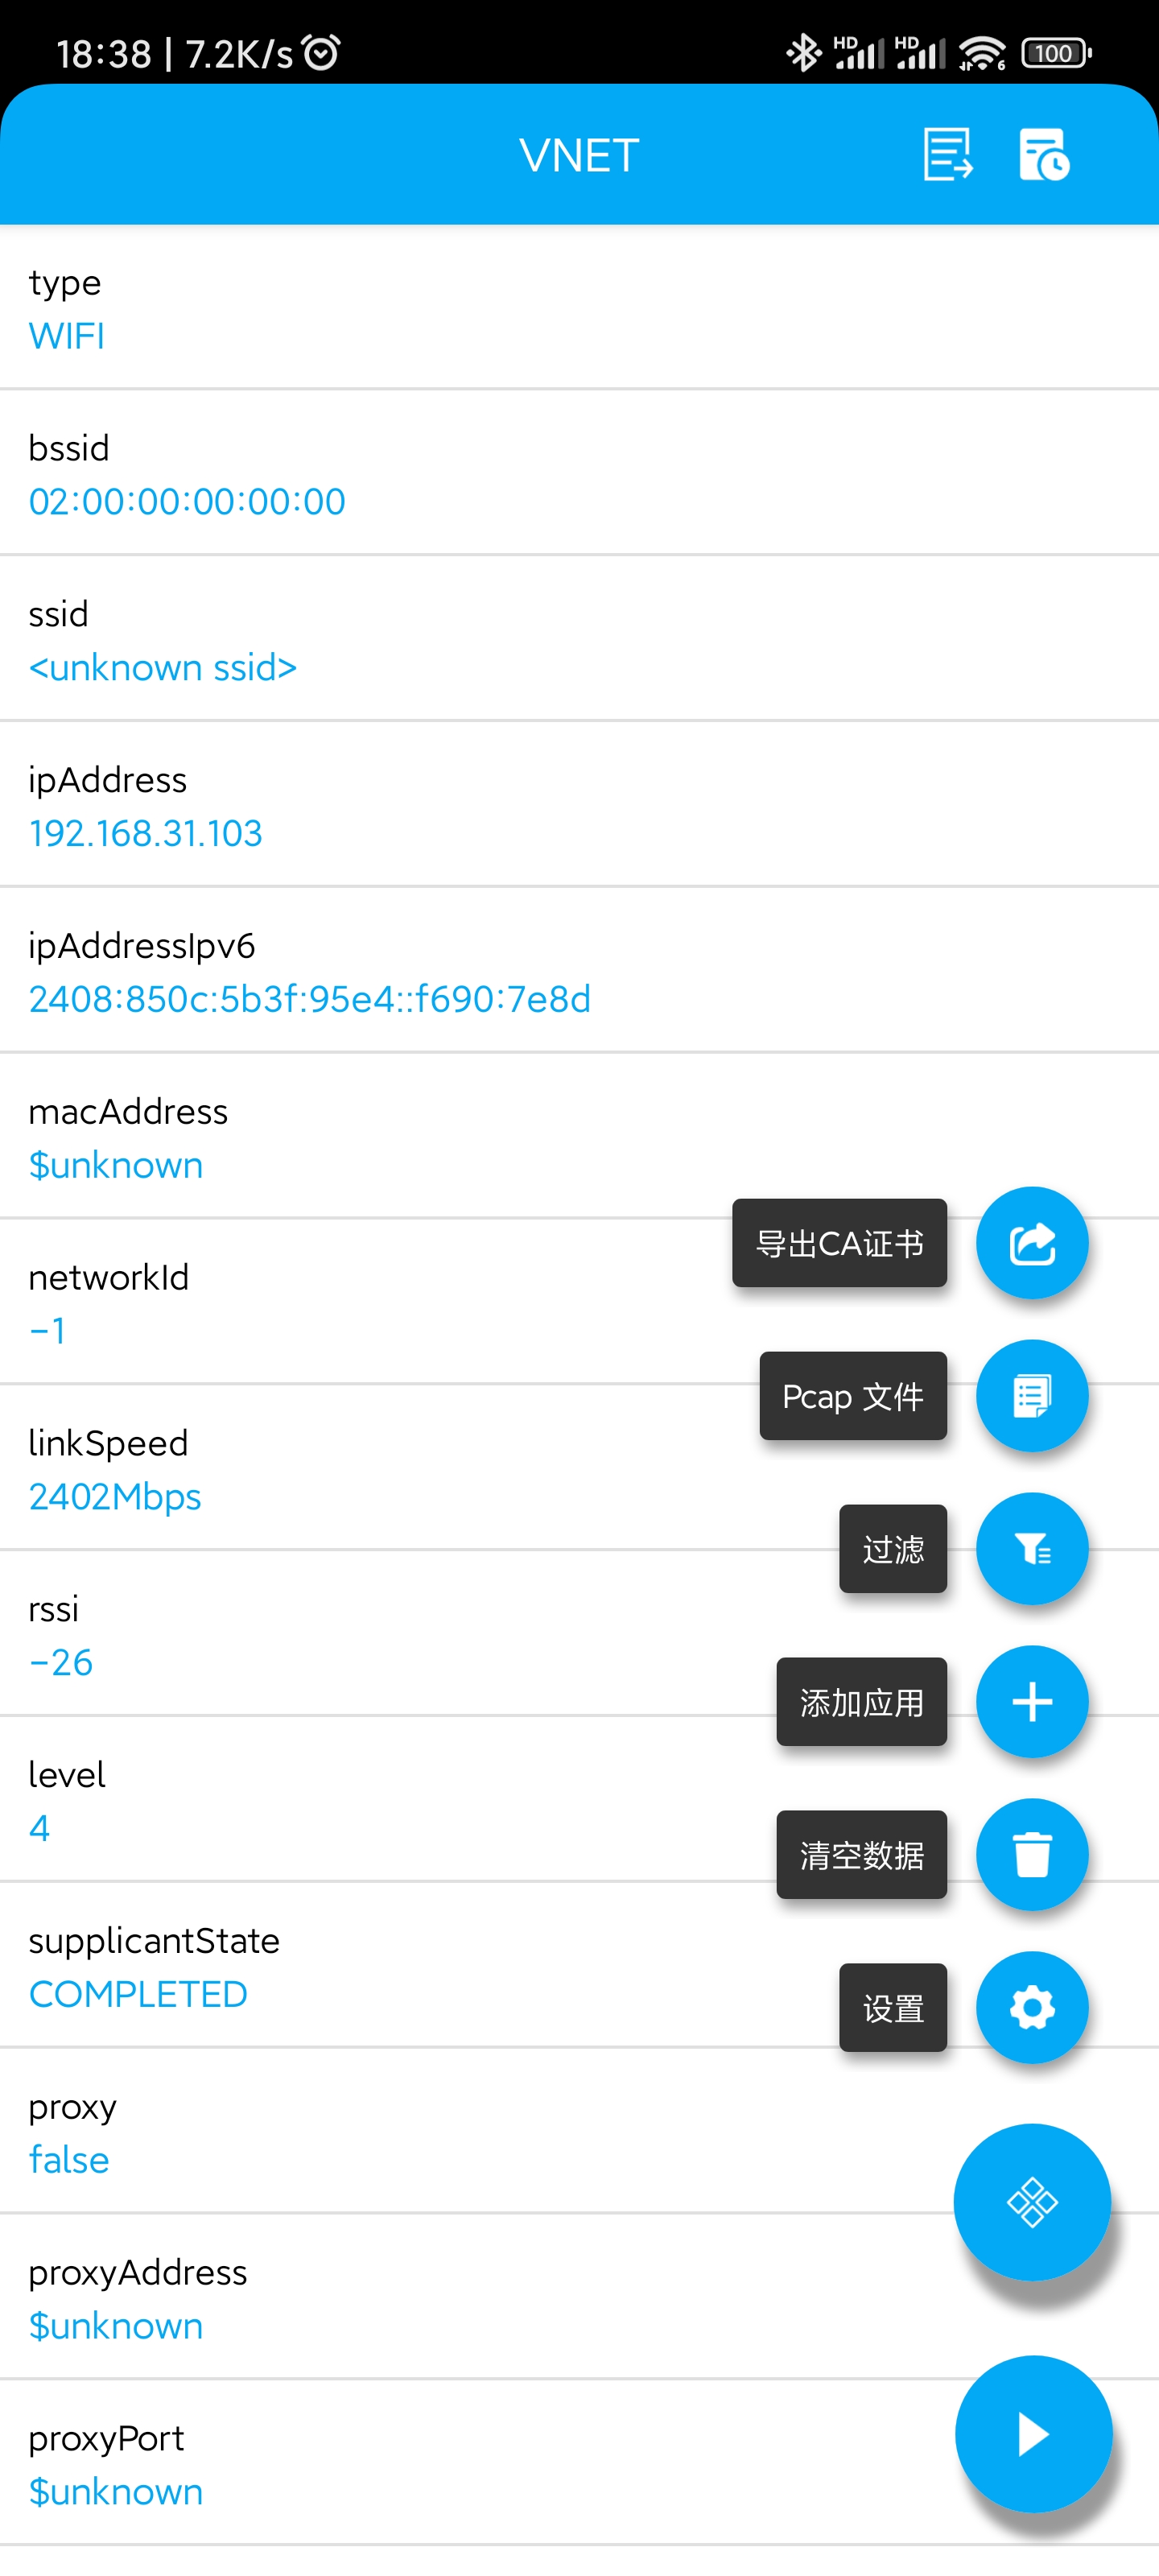
打开 XNET导出 CA 证书

VNET

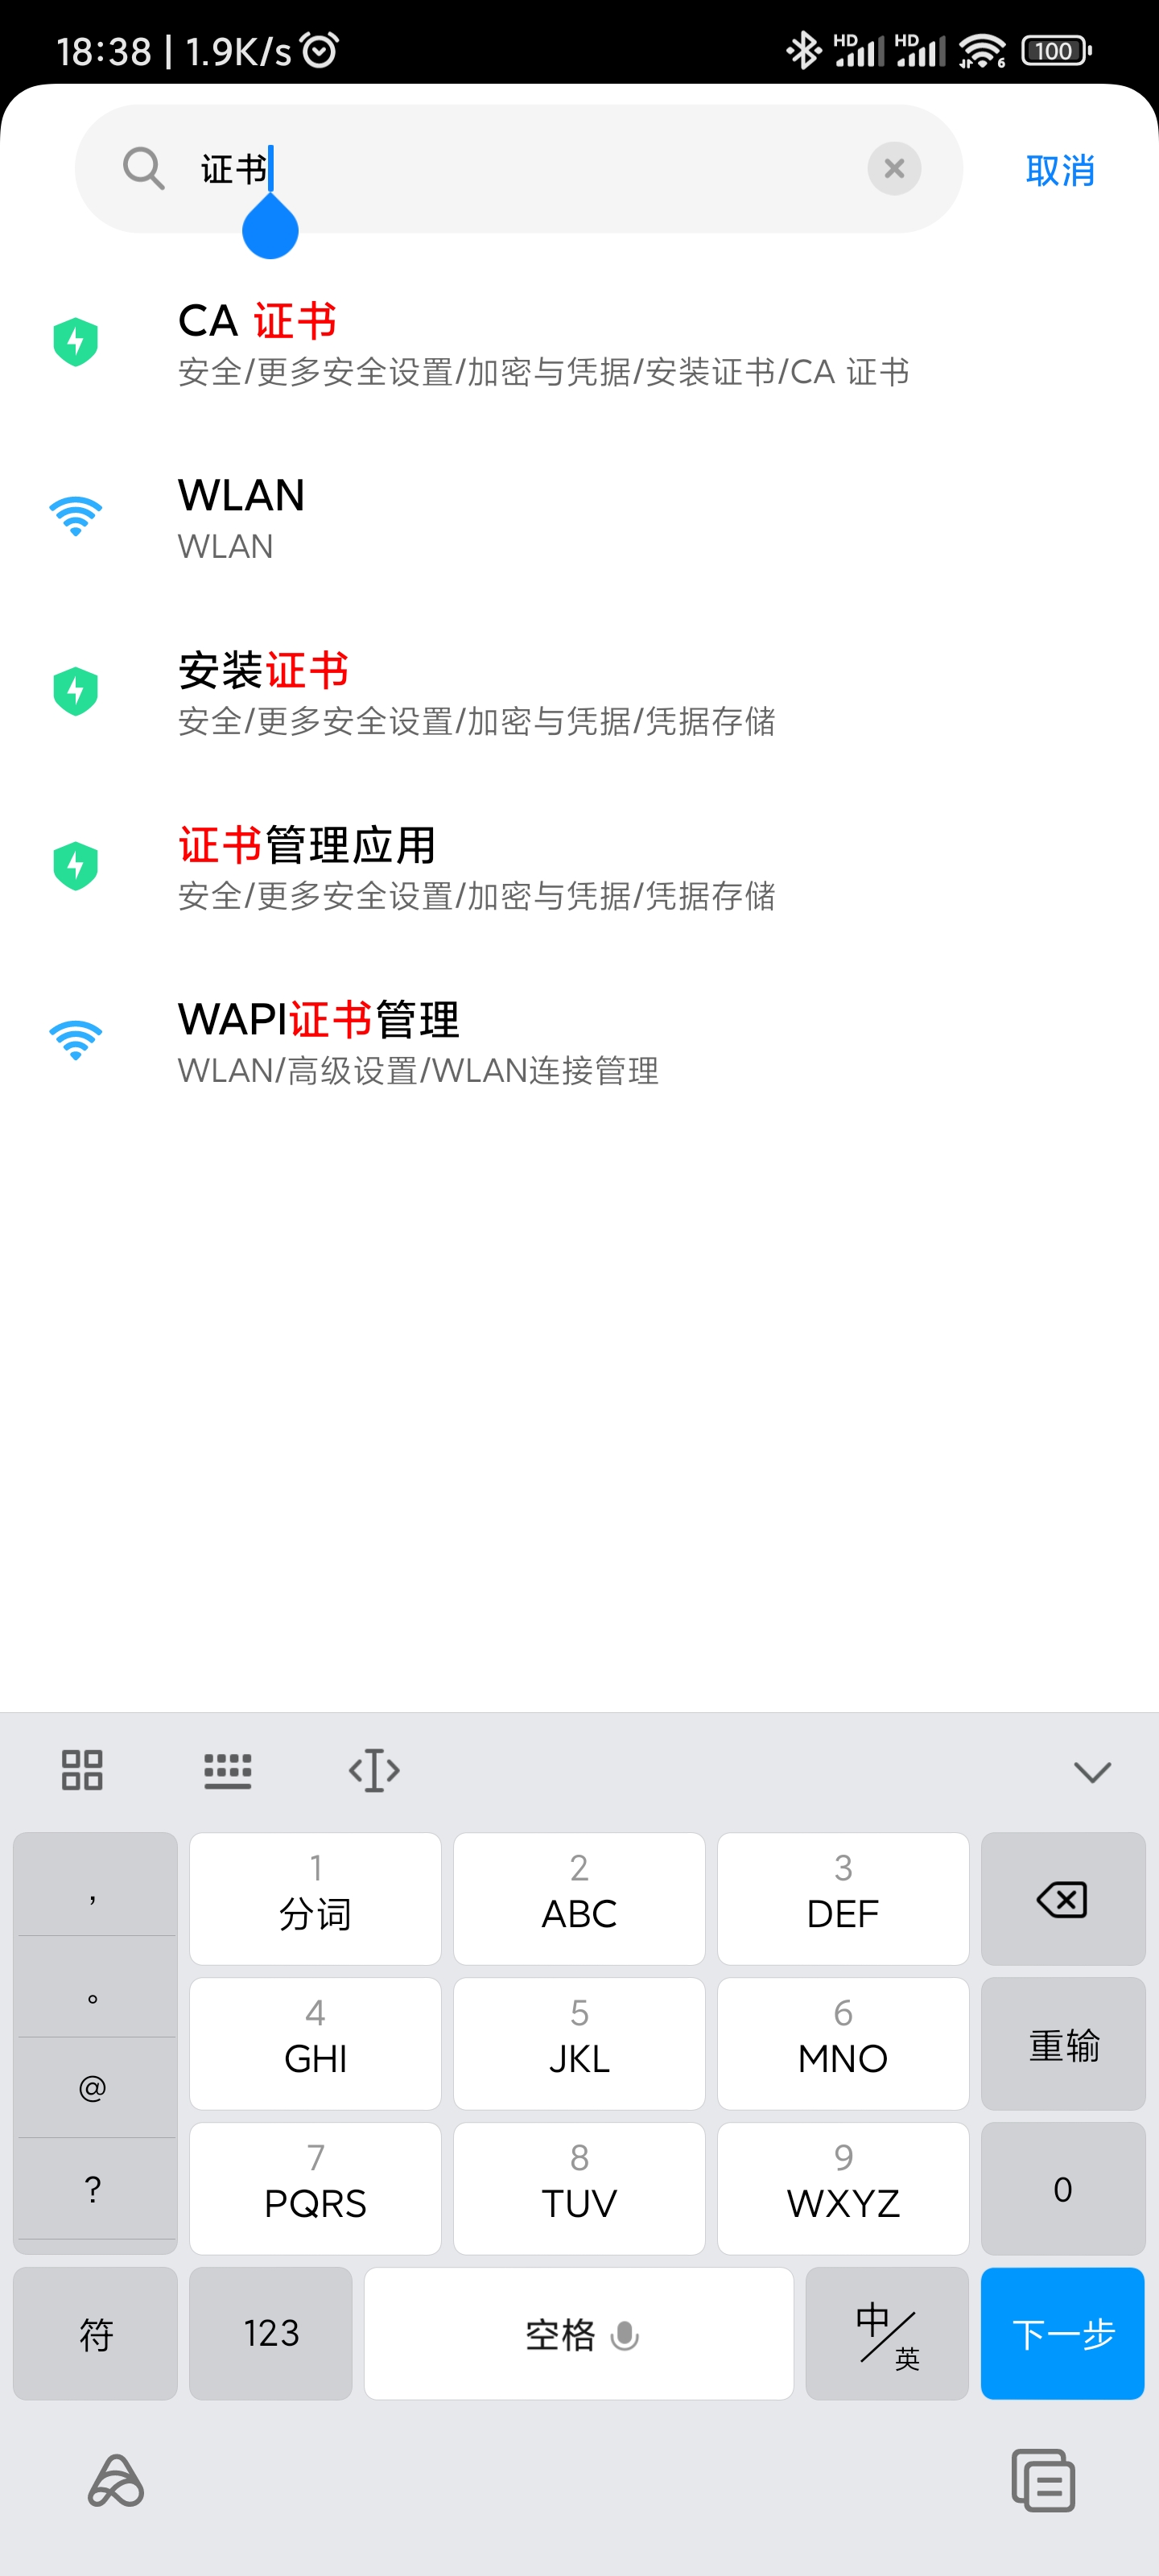
进入设置,搜索证书,选择 CA 证书 进入,一般在 安全 > 证书管理 中找到。

证书搜索

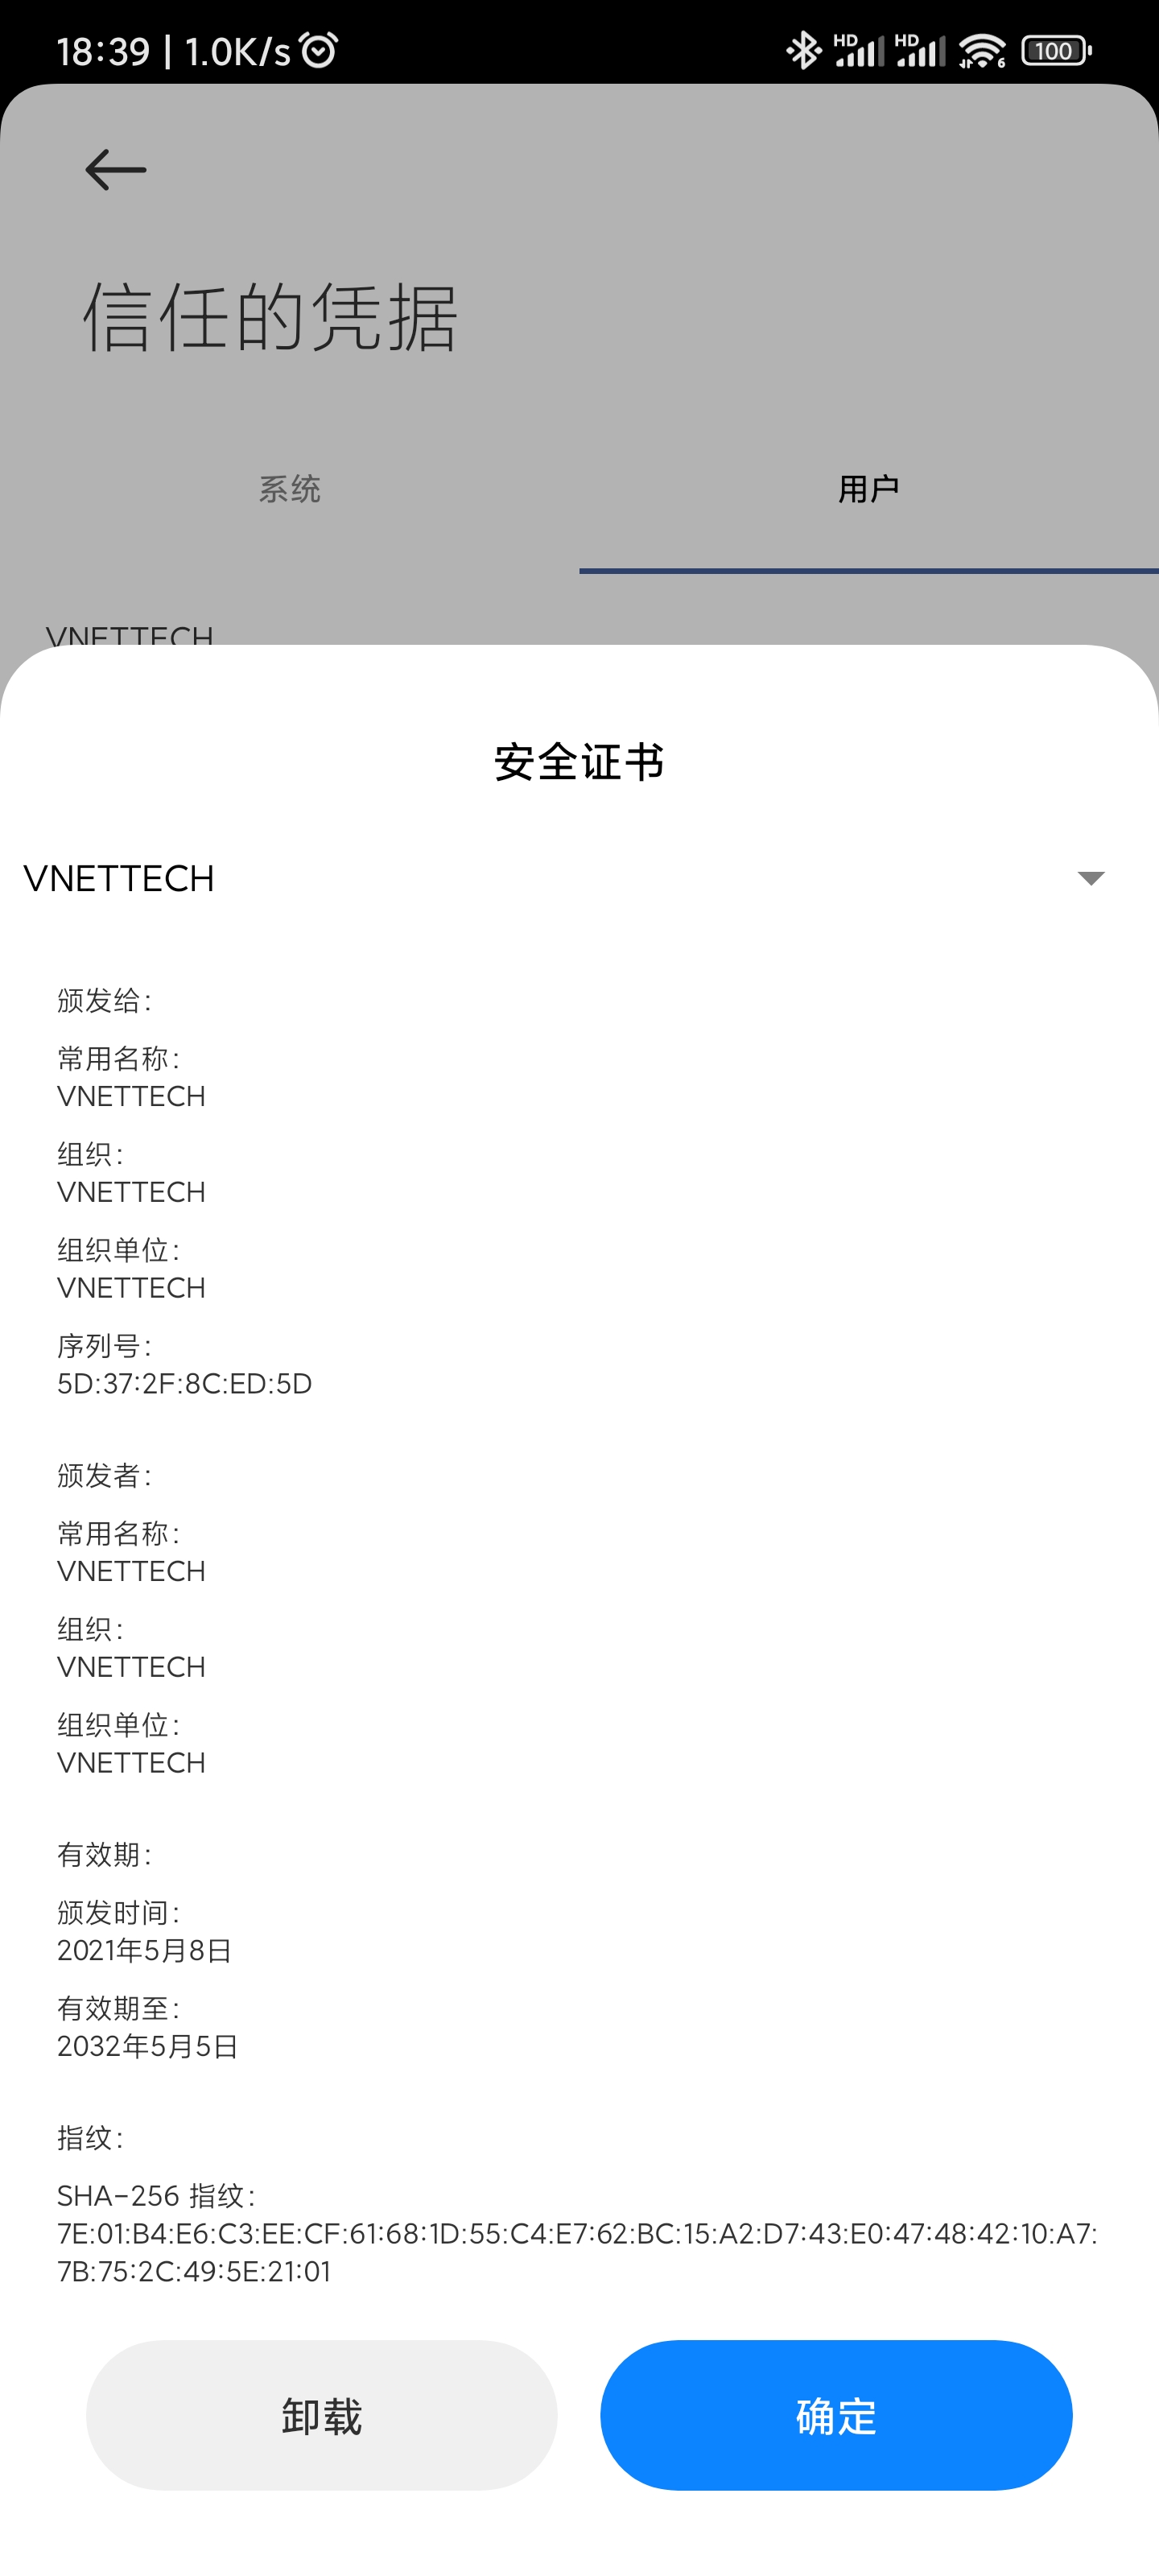
然后选择 安装 CA 证书,成功后,可在用户栏下找到刚才导入的 VNETTECH 证书。

用户证书

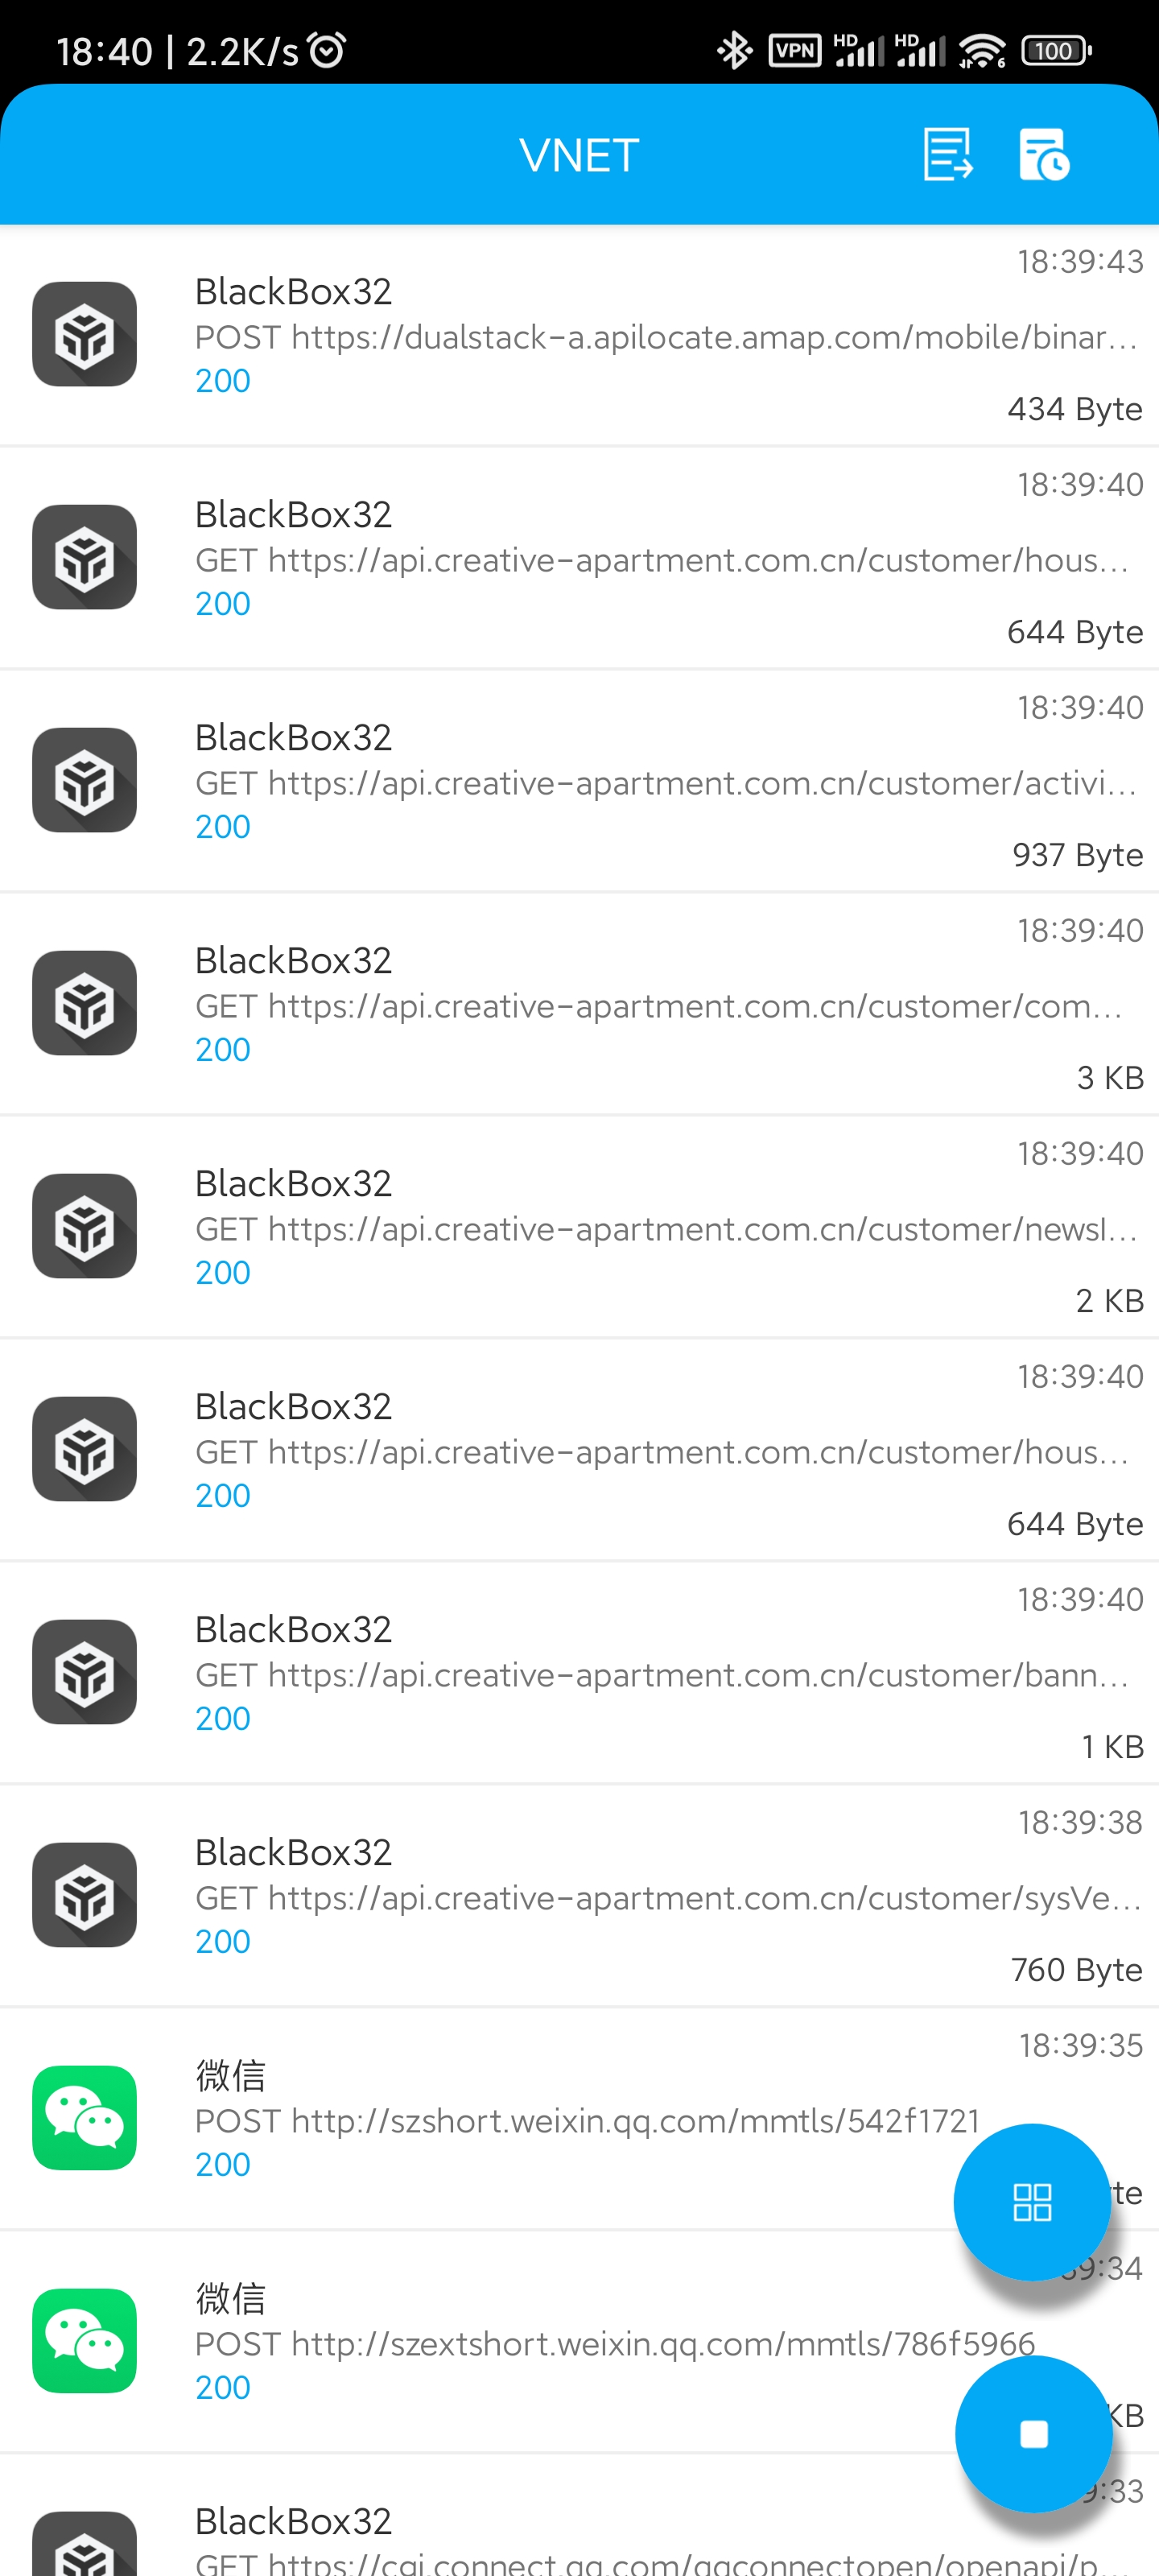
最后回到 VNET 中,点击右下角的加号,开始抓包。

VNET抓包

进入 BlackBox,打开需要抓包的软件即可。

该教程适用于 2016 年小米笔记本 Air 13.3,CPU 为 i5-6200U

与 2021-10-31 日测试安装 MacOS Big Sur 11.6 成功

制作 MacOS 镜像

可以参考上一篇文章下载官方的安装镜像。

或者使用其他人修改过的镜像,比如 黑果小兵 MacOS 11.6 ,然后使用 etcher 制作镜像。

替换 EFI 文件

GitHub 上下载最新的代码,将其中的 EFI 文件拷贝到刚才制作完成镜像的 U 盘中,覆盖 其中的 EFI 文件夹。

升级 BIOS 至 A06

首先不插入 U 盘,开机按 F2 进入 BIOS 设置页面,查看当前 BIOS 版本,如果是 A05 需要将 BIOS 升级,如果是 A06 则无需升级进行下一步。

百度云 ,提取码 z7ec 下载 VFBI0A06.zip 文件拷贝至 U 盘。

重新启动,进入 Windows PE 系统,运行其中的可执行文件,电脑会自动重启并升级 BIOS。升级完成后重新启动 F2 进入 BIOS 设置页面查看对应版本是否是 A06

解锁 CFG LOCK

插入 U 盘,开机按 F12,选择 U 盘进入界面后,选择 Modified GRUB Shell,首先 setup_var 0x84A 查看当前是否开启 CFG LOCK,在输出中有 0x01 则需要输入 setup_var 0x84A 0x00 进行解锁。

安装 MacOS

重新启动,按 F12 选择 Install MacOS Big Sur 进入。

首先选择 磁盘工具 将内置磁盘格式化为 APFS,然后返回开始安装,在安装过程中会自动重启几次,在开机启动项中选择对应的启动项继续,直至见到 MacOS 配置页面,完成配置后进入系统。

拷贝 EFI 至笔记本

打开终端,输入 diskutil list 查看磁盘列表,一般来说 /dev/disk0s1 都是一个名为 EFI 的磁盘。

使用 sudo diskutil mount /dev/disk0s1 命令挂载该磁盘。将上面拷贝至 U 盘 EFI 文件夹的内容同样拷贝到该磁盘。

退出 U 盘,重新启动,如果能正确引导进入系统则安装成功。

如果无法进入系统,重新插入 U 盘,重新配置引导文件。

参考连接

  • https://github.com/whtiehack/XiaoMi-Air
  • https://github.com/sakoula/XiaoMi-Air-6200U
  • https://github.com/johnnync13/Xiaomi-Notebook-Air-1Gen
  • https://blog.daliansky.net

下载

  1. 首先从 GitHub 上下载最新的代码。

  2. 解压后,运行 gibMacOS.bat

  3. 选择 MacOS 版本,输入序号并按回车。

  4. 等待下载完成。

刻录

  1. 插入 U 盘。

  2. 运行 MakeInstall.bat

  3. 选择正确的磁盘,并输入前面的序号,按下回车,再输入 Y 按下回车(U 盘内所有数据将会被清除)。

  4. 进入 gibMacOS\macOS Downloads\publicrelease 目录,按着 shift 并右击相应版本的文件夹,选择 复制文件地址

  5. 回到 MakeInstall.bat 窗口,右击粘贴刚才复制的路径并按回车。

  6. 等待直到制作完成。

其他

该工具下载可能较慢,建议在初始化的冒出的 xml 连接中直接找对应的文件。